[1]-First of all you will press (ctrl +N) now you will see the new window is open
Click on the Geometry > Standard primitives > Plane and use the following setting
Create a Plane in the top view set like this in the perspective view


[2]-Use the following setting Create a Tube in the top view and set like this in the front view


[3]-Use the following setting Create a Cylinder in the top view and set like this in the front view


[4]-Now select the Cylinder drag it and release you will see the clone option is open use the following setting
Then set the Cylinder like this image as shown below


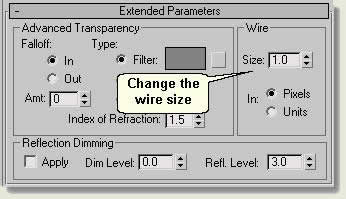
[5]-Click on the Line tool then create a shape like this with help of line tool open the rendering palette
use the following setting your line should like this in the front view


[6]-Use the following setting Create a Helix in the left view and set like this in the front view
Open the rendering palette use the following setting your line should like this in the front view


[7]-Again create a line like this with help of line tool open the rendering palette
Use the following setting your line should like this in the left view


[8]-Use the following setting Create a Cone in the top view and set like this in the left view


[9]-Select the Cone right click Convert into Editable poly then select polygon mode in the editable poly
And make a selection like this in the top press (DELETE)


[10]-Your Cone should like this in the perspective view

[11]-Then apply the shell modifier and use the following setting
Your Cone should like this in the left view


[12]-Create another a line like this with help of line tool open the rendering palette
Use the following setting your line should like this in the left view


[13]-Use the following setting Create a Sphere in the top view and set like this in the left view


[14]-Use the following setting Create a Box in the top view and set like this in the front view


[15]-Now click on the  select & rotate tool in the main toolbar then rotate the box like this
In the left view

[16]-Now select the Box drag it and release you will see the clone option is open use the following setting
Then set the Box like this image as shown below


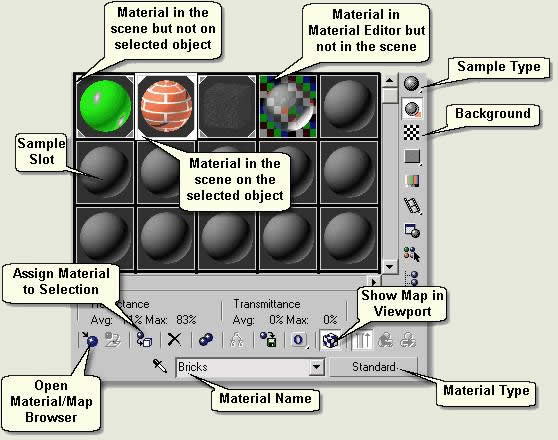
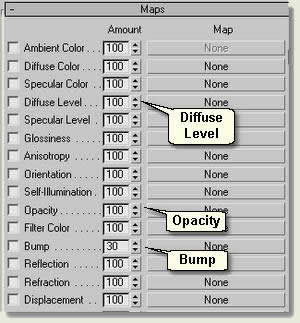
[17]-Open the material window and make a three material
In the first to third material I can import three jpg


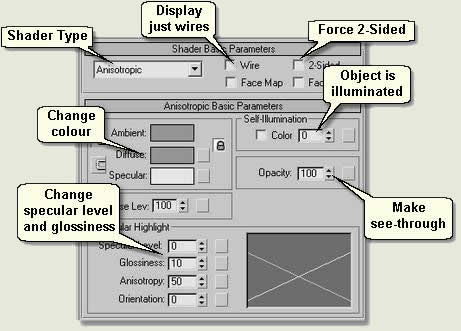
[18]-In the fourth just pick the color and give some shinning and to the given object

[19]-After assign the material press (F9) and you will see the final is ready
Save the file in your folder
I Hope you will be enjoyed
Thanks for watching my tutorial


www.thevideostreet.com


